Step 7:
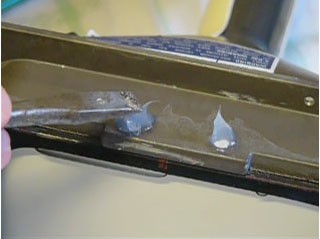
Remove the rest of the silicone (if you have not already done so). Wipe
the surface clean again.
Check the screw one last time to make sure it is tightened properly. Then
apply some silicone onto both screws again. Make sure the seal is air-tight.
You can either wait for the silicone to cure now, or go to the next step.
INFO on the silicone: You can use any silicone to seal the screws.

Step by step video: Bleeding_Tubes7.MOV
(14.4mb)
Step 8:
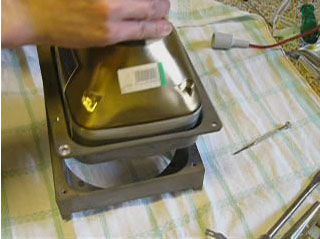
Carefully insert the tube into the mounting hardware again, making sure you
don’t touch or break the silicone seal.
Insert the screws you removed in step 1 and tighten them.

Step by step video: Bleeding_Tubes8.MOV
(11.8mb)
Step 9:
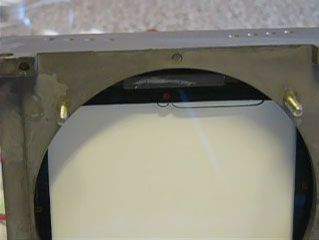
The final bubbles.
Let the silicone cure for at least one day before you install the tubes into a
ceiling mounted projector again (in that orientation the seal would be facing the
floor).
For floor mounted installs (or if you’ll not put the projector up on the
ceiling right away) this is not so much of an issue, so you might as well put
the tube back into the projector right after you finished bleeding it.
This tiny amount of silicone should not need more than a couple of hours to
cure sufficiently. Waiting 24 hours will definitely suffice.

Step by step video: Bleeding_Tubes9.MOV
(0.5mb)

|


