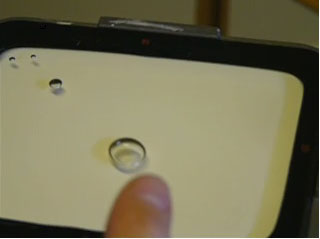
This video illustrates the bubble in the tube (actually there are 4 of
them). The combined bubble should be between 1/4 and 1/2 inch in diameter
(the one in the video might be a tad bit larger than that).
NOTE: You might find that there are some dirt particles in the glycol
now. Of course, that is not something you want to have, but fortunately
these particles will settle down quickly and rest on the bottom of the
coolant chamber where they have absolutely no detrimental effect on the
picture (keep in mind that the particles were already there before you
started :) ). If you are worried that they might not settle down, rest the
tube on a table for a while and observe how the particles slowly move to the
bottom of the chamber.

Step by step video: Bleeding_Tubes5.MOV
(1.0mb)
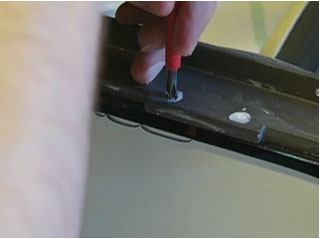
In case you have to remove some more glycol (bubble still too small), or
add some glycol back in because you have removed too much (bubble too big
now), this video illustrates it.

Step by step video: Bleeding_Tubes6.MOV
(4.5mb)


