How do I fix a tube that has fungus?
You have two choices: You can fix it yourself or you can get
VDC to do it
for you for a reasonable fee. Contact them for exact pricing/details.
If you decide you want to do this yourself, read on!
We need to clean the existing fungus off and re-spray the aluminum to prevent
it reoccurring. Doing so requires that the glass in front of the coolant chamber
be removed, cleaned, re-sealed, and re-filled with coolant.
Note: The following instructions deal with air-coupled tubes that have flat
glass sealed directly to the front of the coolant chambers. The curved glass in
front of the coolant chamber (called the c-element) of liquid coupled tubes is
(usually) easily removed with only a few screws, therefore some of the steps in
the procedure outlined below would actually be considerably simpler for LC
tubes.
Update: Here's a shorter way recommended by forum member 'jowi' 'to fix
the fungus problem that can be used in some circumstances that doesn't involved
removing and resealing the glass plate:
"Take the tube out, unscrew both fill screws on top, keep it upside
down, put a plastic syringe (no needle!), which will fit on one of the screw
holes nicely, and simply pump the glycol out through the other hole, not
removing the syringe, just pump. In like 30 seconds your tube is empty.
Collect it using a coffee filter and a glass. Then take some ammonia
(or CLR), fill the tube for 30% with it, and shake it baby! The inside of
the tube is now clean. Pump out the cleaner, fill the tube with some water a
couple of times so the cleaner is gone, and then refill it with your glycol.
A bit of water in the glycol is no problem at all. So don't worry about it.
Finished! No need for removing and cutting glass and remount the glass
etc. A tube is removed, cleaned and refitted within 30 minutes...
Note: If the inside materials of the tube are deteriorating, simply
flushing won't treat it. But in a lot of cases the 'fungus' is just caused
by crystallization of the glycol itself, e.g. if the tubes haven't been used
in a while or due to some (bacterial/chemical?) impurities. The
crystallization then settles on the glass. In those cases, the simple
flushing method will be sufficient. As long as the tube is being used
regularly, the glycol is heated up again and again and will convect in the
tube, thereby doing what it's supposed to do (cooling the phosphor) and
impurities or crystallization will not have the chance to settle."
If you're still interested in ensuring 100% that fungus problem won't
re-appear, read on for the full procedure with pictures!
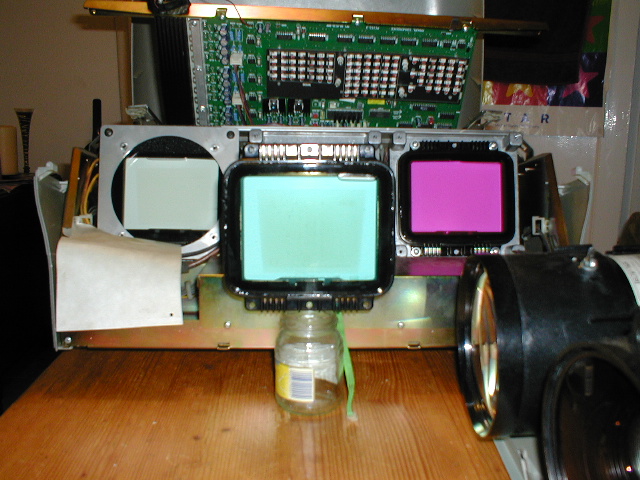
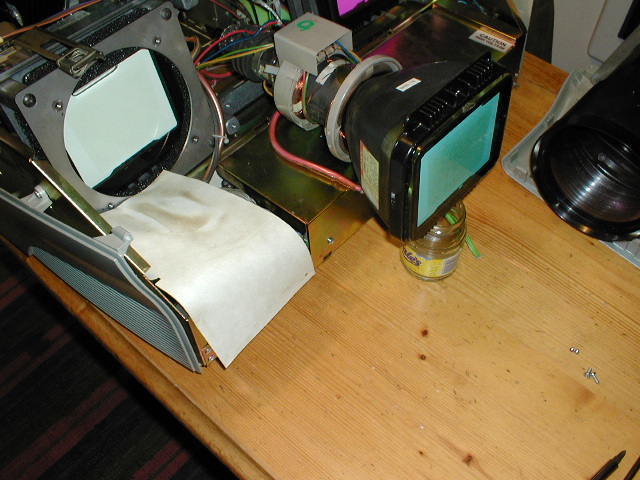
Step 1:
Pull the tube out. You may leave the HV lead connected, but you may find it
easier to disconnect it entirely. (Note: There is another advanced procedure on
this website that details how to remove the HV lead on this website if you
decide to follow this route).

|

