CurtPalme.com Home Theater sales, calibration, service, and discussion forum. Hundreds of free manuals & setup tips.


Sign up and receive the latest newsletters by email!     Join the Forum discussions!    
    Site Map  
Home Products
For Sale
Referral
List
Photo
Gallery
Links Contact
Us
CRT Primer
Troubleshooting Tips
Mounting Methods
Definitive CRT
Projector Setup Guide
Tube/Raster Setup
Tube Condition (Wear)
Advanced Procedures
Projector
Specifications
Projector Rankings
Video Processors
Ampro 1500/2000
Ampro 2300/2600
Barco (Older Analog)
Barco 70x/Cine7  
Barco 500/800/801
Barco 808/Cine8
Barco 120x/Cine9
Dwin 500/700
Electrohome ECP 
Electrohome Marquee 
Mitsubishi
NEC PG
NEC XG
Panasonic 108x
Runco
Seleco
Sony 10xx
Sony 125x/127x
Sony 1292
Sony D50
Sony G70
Sony G90
Zenith 841/851
Zenith 895/900
Zenith 1200


Ampro 3600/4600

      >> Introduction 
      >> Layout and Setup Tips 
      >> Manuals / Downloads 


Layout and Setup Tips

 (Page 4)

Page: 1 2 3 4 5


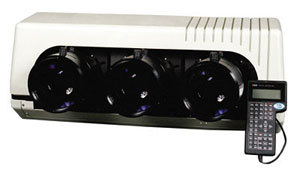
CRT sockets: It is good practice to remove the CRT sockets when shipping one of these sets, as it’s possible for the heavy CRT cards to snap the necks of the tubes if the set is handled roughly during transport. Note that there are two different types of CRT sockets to facilitate proper orientation of the heatsink.

The CRT sockets can fail, but are usually easily repaired. The CRT sockets unplug with several connectors. Make sure the tiny two pin shielded wire that goes between the RGB card and CRT socket is plugged in correctly, otherwise you’ll get no video signal shown on that tube face. The G2 trimpot is on the top edge of each tube, the manual tells how to set these.

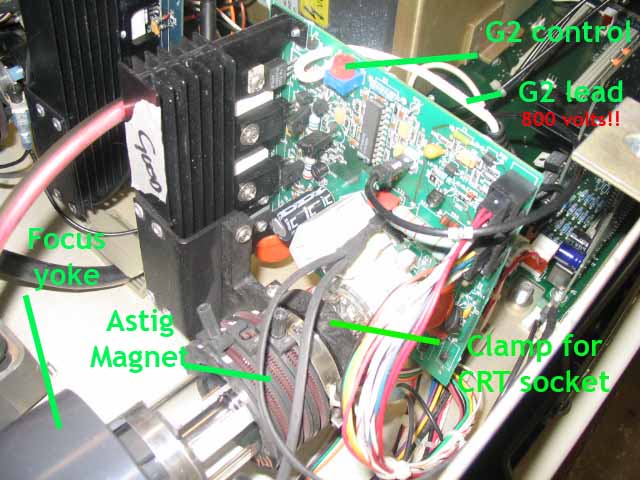
There were several CRT socket versions, all are interchangeable with one another (remembering to check for proper heatsink orientation). The CRT socket is clamped to the CRT tube. Loosen (don’t remove) the Philips screws and they will pull off the back of the tube.


... Previous Page Next Page ...


© Copyright CurtPalme.com. All Rights Reserved.