The following alternate hushbox building procedure was graciously provided
by forum member Maurizio Prandi. Excellent workmanship Maurizio! Very
impressive!
Hushbox, Supercooled
Special thanks to Enzo Prandi, my father, who developed the following hushbox
according to my general guidelines and concepts. He is the true maker of the
following hushbox, I have always admired the manufacturing ability of my father
and I hope that the readers will also appreciate our result.
Important Note
The following hushbox has the purpose of inspiring and giving general
guidelines to whom wishes to build it on its own. It does not have the purpose
of giving precise indications and engineering procedures on how to build one.
Whoever decides to build his/her own hushbox following this document will do so
under his/her own responsibility and care.
Ceiling Mount
The ceiling mount is based on concrete/brick ceiling. As per wooden houses
the structure holding the projector has to be fixed to the beams.
Caution: If the expanding bolts are fixed to the hollow bricks, the structure will
tear down the hollow bricks since they won’t hold the weight of even a 7” CRT
projector.
It is important that expanding bolts are fixed to the concrete beams (See
Fig. 1).
In Fig. 1 you can see a standard Electrohome ECP fixed on the ceiling through
an original ECP tilting ceiling mount, fixed to an “H” shape steel structure.
The “H” shape steel structure is fixed to the ceiling by means of 8 Fischer®
expanding bolts.
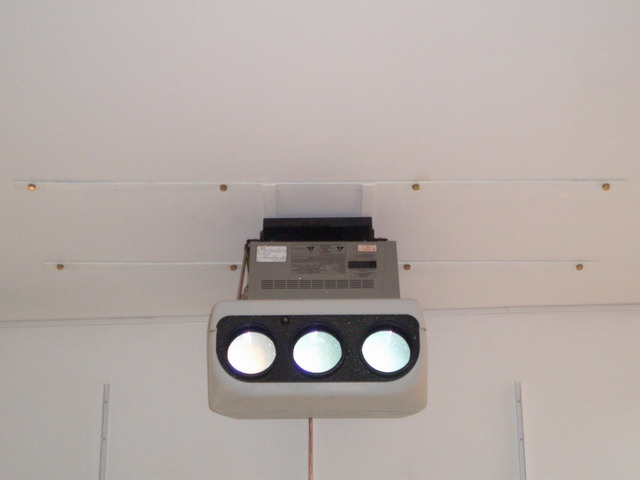
Figure 1
Hoisting Down the Projector
In Fig. 2 you can see the equipment used to hoist down the projector. This is
equipment you can surely find at your local DIY store.
Caution:
This system has proved to be efficient but extremely tiresome to maneuver with,
it is better to provide a multiple pulley system in order to avoid excessive
stress.

Figure 2
In Fig. 3 you can see the trolley used to both hoist down the projector and also
move it around once disengaged from the ropes and pulleys.
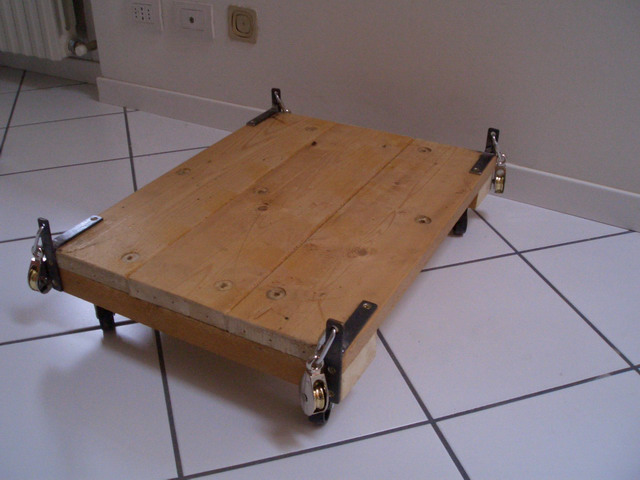
Figure 3
In Fig. 4 you can see a detail of the wheels that can allow free movement of the
trolley including turning onto itself.
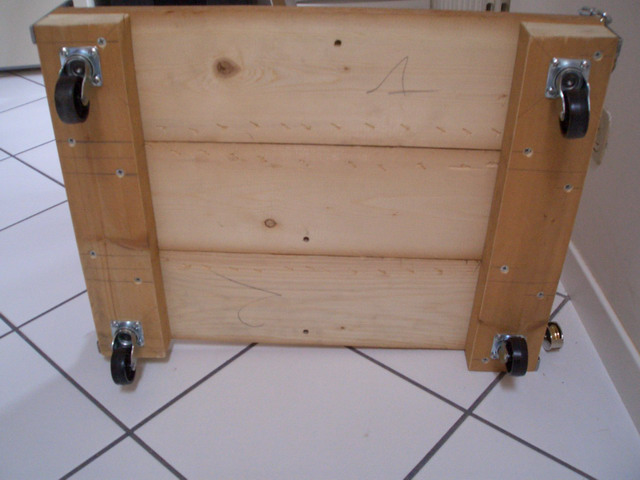
Figure 4
In Fig. 5 you can see the trolley lifted up with the pulley system and ready to
disengage the projector from the ceiling mount.
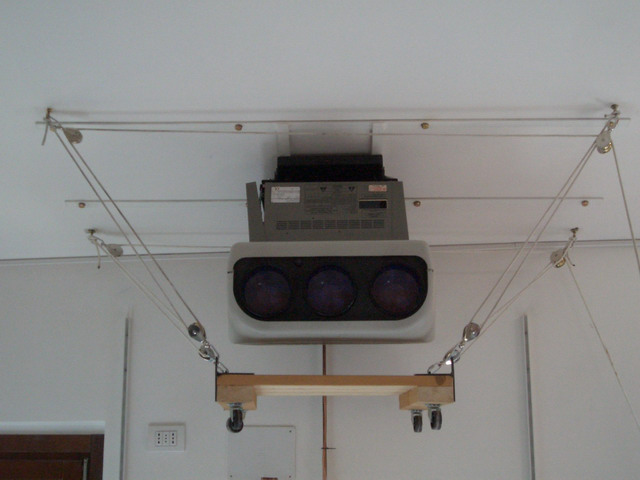
Figure 5
In Fig. 6 you can see the projector hoisted down and ready to be moved.
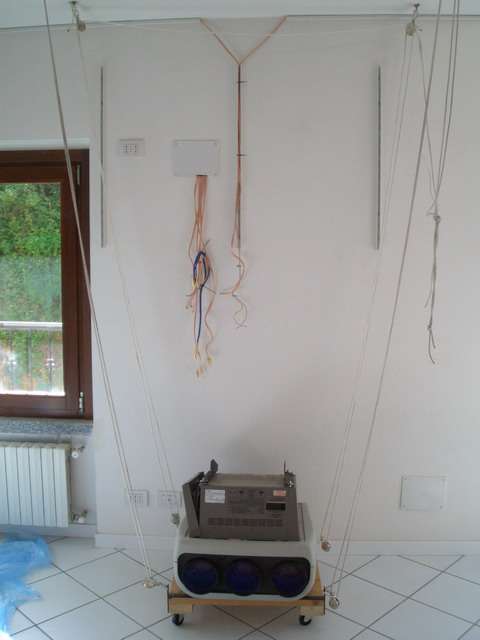
Figure 6

|

